Still trying to learn how to install laminate flooring? No worries. We will help you with this. Understanding the procedure of laminate flooring installation is very easy and fun. It requires very little time and efficiency.
Laminate flooring is an aesthetically appealing, cost-effective, high-quality alternative to wooden flooring. It compromises layers of wood fibers that are strongly laminated together. Its best feature is its easy installation on homes, buildings, and office floors. Let’s check out the guide on how to install laminate flooring.
Initial Measures to Take!
Before digging into the laminate flooring installation method, let’s discuss some necessary measures and pre-preparations one needs to make.
- The surface where you are installing laminate flooring needs to be stable and smooth. If there is an existing floor covering and you are installing laminate flooring onto it, make sure to first make it flat, stable, clean, and smooth.
- The next preparation you need to make is the removal of all baseboards and trims.
- In most cases, heating registers are not attached, but if they are present, remove them via uplifting.
- When laminate flooring does not have an underlayment attached, it is better to roll out a foam underlayment first.
- Make sure that the surface has no screw or nail attached.
- If there are low spots, pouring a liquid leveler will be a good option.
- Vacuum the entire floor surface.
- Leave the unopened boxes of flooring in the room for at least two days. This will allow them to easily acclimate to the room’s temperature and humidity.
Material Required
Let’s discuss the material required for the laminate flooring installation:
- Scrap wood Spacers
- Knife
- Measuring Tape
- Wooden Pencil
- Rubber Mallet
- Speed Square
- Hammer
- Pull Bar
- Liquid Leveler
- Vacuumer
- Laminate Flooring
Now, Here Comes The Big Picture: How to Install Laminate Flooring?
As mentioned earlier, the steps on how to install laminate flooring are as follows, but it requires a lot of focus or attention at each step. In case if you are looking for professional installation of laminate flooring in Dubai or Abu Dhabi, you can go for an experienced flooring contractor. Whether you are a beginner or already familiar with laminate flooring installation, this step-by-step guide will help you achieve a more natural and professional look.
-
Dry-fit the Flooring Layout
The first step in this process is to dry-fit the flooring layout. The laminate planks should be roughly tested initially to determine their layout in the room. Side by side, place the planks across the room, pull them up, and stack them in the nearby area.
-
Rolling Out Sheets Of Foam Underlayment (Optional)
The second step is quite optional. But if laminate flooring does not attract underlayment, you are required to roll out sheets of foam underlayment.
-
Covering and Staggering the Seams
For safety, cover the seams with the peel-and-stick adhesive edges or with tape. Stagger the seams of the planks to at least twelve inches, so that it will create a more mature and natural look.
-
Measurement of the Surface
You are also required to measure the width and length of the surface to examine the number of planks you need.
-
Let’s Begin with the First Row
Now, start by cutting the tongue off the first row of planks and placing a spacer between them to allow expansion.
-
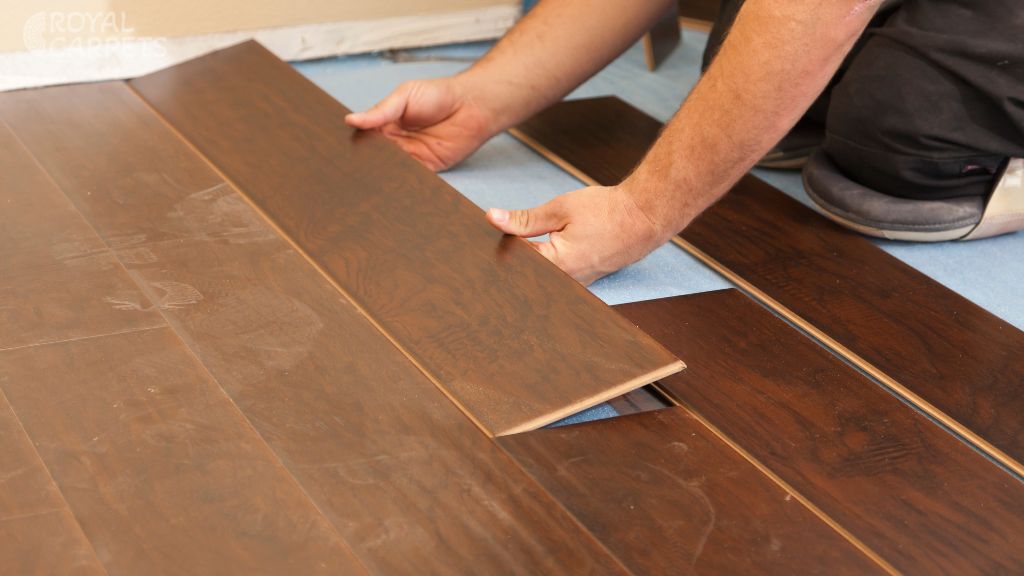
Doing the Second Row
Further, for the second row, angle the plank and push it into the groove of the initial row. Make sure to stagger the seams and use offcuts from the previous row to initiate a new one.
-
Crossing Obstacles
In case there are pipes, door frames, or other obstacles, use the laminate cutter to cut planks.
-
Installing the last Row
When you are done with measuring the last row, cut the planks for fitting and also leave space for expansion. You can use a pull bar to adjust and fit the last row strongly.
-
Final Touch Ups
When you are done with the plank installation, remove the spacers that you earlier attached around the edges. Use a nail gun to install quarter rounds or moldings and secure them to cover the expansion gap.
-
Cleaning
Lastly, clean the surface with any kind of duster or damp cloth to remove any debris.
Tips to Keep in Mind
Here are some tips to increase the efficiency of your work:
- When you place underlayment, it provides a thermal barrier, absorbs sound, and bridges minor bumps and gaps on the floor.
- If you are using the right tool, it will make your work quicker and easier.
- Following the manufacturer’s instructions and guidelines makes the work more professional and natural.
- Working carefully and slowly will provide a clean and neat look.
Final Words
Here we go with the blog on how to install laminate flooring. Following these beginner guidelines by royalcarpets.ae will help you achieve an accurate and professional look, they show that a laminate floor is easy to clean and install. It is important to have a leveled subfloor because if you do not you could have a noisy floor and hollow spots.