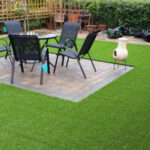
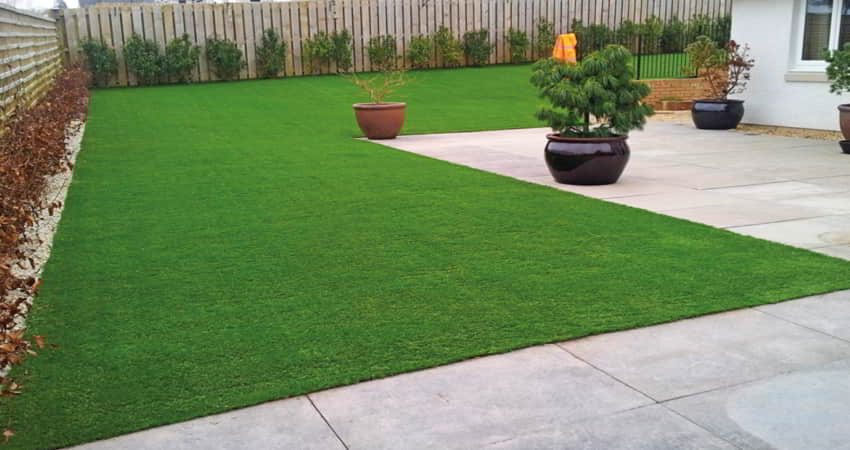
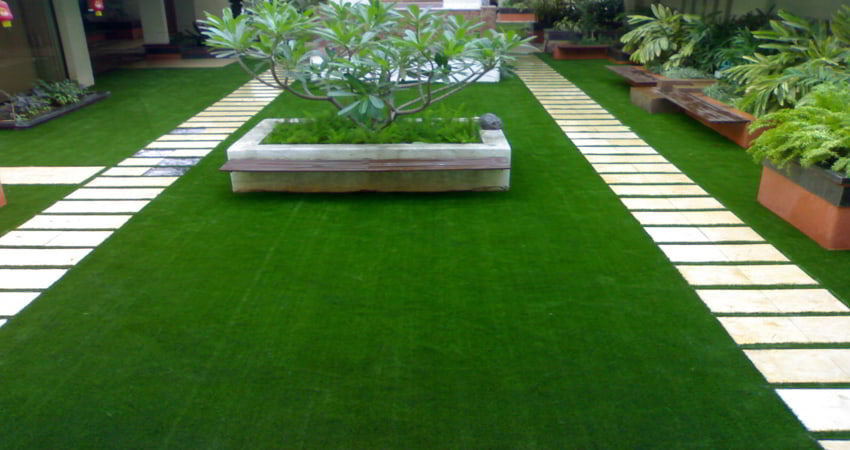
For any homeowner, a business owner, or a sports facility manager who needs a durable grass solution, artificial grass is the perfect answer. These fake grass floorings free you from the hassle of watering, fertilizing, or mowing. From the backyard to the balcony to outdoor space, you can have these grass flooring installed anywhere. You can even have the artificial grass carpet indoors these days. They will improve the beauty of your surroundings while lowering maintenance efforts. If you want to DIY install this lawn solution, this is our guide on how to install artificial grass.
Step By Step Guide On How to Install Artificial Grass
Our guide is an easy one and you will be able to install the artificial grass in a flawless manner for a long-lasting result.
Step 1: Gather Your Tools and Materials
Before you start your installation of the fake grass, you must have your necessary materials and tools in hand. This is what you will be needing.
- A tape measure
- A sharp knife to cut the grass turf
- A Shovel
- A rake
- A plate compactor
- Hammer
- U-pins or turf nails
- A brush
For the materials you will need:
- Your rolls of artificial grass
- A weed membrane, which is mostly a geotextile fabric
- Crushed stones or sand to prepare the base
- Adhesive to join the seams
- Silica sand infill for added stability
Step 2: Prepare the Ground
You need to properly prepare your ground for a stable and durable fake grass fitting. First, you must clear the area of any weeds, stones, or debris. Use a shovel to dig the desired area to a depth of 2 to 3 inches. This will create space for the base materials. Lay down the weed membrane across the area to prevent any weed outgrowth through your artificial grass floors. Secure it in place with U-pins. Now lay down a layer of crushed stone or sand about 2 inches in thickness across the entire area. This will allow for proper drainage along with a stable foundation for the fake grass.
Once all these materials are added, use your plate compactor to firmly compact the base. Be sure to make this surface all smooth and leveled for the rest of the installation.
Step 3: Roll Out the Artificial Grass

Now your base for the installation is ready – it’s time for the artificial grass fitting.
Unroll your grass rolls and let them settle for a few hours before installation to eliminate any wrinkles. Take a utility knife to cut these grass rolls as per the size and shape of your installation area. Be careful to make accurate cuts to prevent any gaps. You need to ensure that the grass fibers are in the same direction for a natural look. For a professional finish, we recommend aligning the grass and trimming off any excess.
Step 4: Secure the Grass in Place
Now that your fake grass is positioned in the right manner, it’s time to secure it in place. If there are multiple sections for it, use the joining tape to connect them, but ensure the seams are tight. They must not show any visible gaps in them. Use the U-pins or turf nails about every 6 to 8 inches along the edges to keep the turf in place. Hammer these nails securely without flattening the grass fibers. Once your turf is in place and secure, use a stiff broom to fluff those grass fibers. You must do it for the areas where fibers flattened during installation. Properly secure the fake grass to keep it in place, and it will retain its shape for many years.
Step 5: Add Infill (Optional but Recommended)
This is an optional step but can be a beneficial one, adding infill materials like silica sands. Such materials improve the longevity and performance of your artificial grass. They add to the weight of the grass, improve the drainage system, reduce heat accumulation, and keep the blades upright.
Simply spread a thin layer of the silica sand all over the artificial grass. Use a brush or broom to spread the sand into the grass.Do this as many times until your desired infill level is reached. Infilling the grass turf is not a must-do step but it is still a recommended one. This is helpful for fake grass installed in high traffic areas for durability.
Step 6: Final Touches and Maintenance Tips
You have installed the fake grass, but this last step is just for a few final touches. These last touch-ups will make all the difference for your fake grass. First, check the grass installed to see if it has any loose edges or visible seams. If there are any, secure them. Brush your turf one last time to get that even natural, lush look. Rinse the entire thing with water to remove dust or debris from the fitting process.
Conclusion
This was easiest guide on how to install artificial grass at home by Royal Carpets. Fake grass is a practical and effective way to enjoy the greenery indoors and outdoors without the hassle of maintaining the real grass. You can improve your home or business spaces with artificial grass solutions. Follow our simple steps from the guide and achieve that professional installation to improve your outdoor area décor.